Simple Start: Buttered Toast with Flaky Sea Salt

If I could choose only one thing to eat for breakfast for the rest of my life, it would be two slices of toasted homemade bread, slathered in European-style butter, topped with a hefty sprinkle of flaky sea salt. This is a pretty bold statement considering breakfast is my favorite meal of the day, and I’m the type of person who whole heartedly embraces the motto “variety is the spice of life.”
But I have eaten this simple breakfast at the start of so many days, and it brings a smile to my face each and every time.
Roaming around the internet one day, I came across a recipe titled “The Easiest Crusty Bread Ever”, which I have now made so many times I’m convinced I could do it while sleepwalking. Wouldn’t that be a great way to wake up to fresh made bread everyday!
Every time I post a picture of my fresh baked loaf, I get an overwhelming response from my friends. I think it’s because they don’t realize just how incredibly simple it is to make homemade bread. That, or they just hold carbs as close to their hearts as I do!
You really only need a few tools and five simple ingredients — one of which is water, so I feel like that shouldn’t even really count.
TOOLS OF THE TRADE
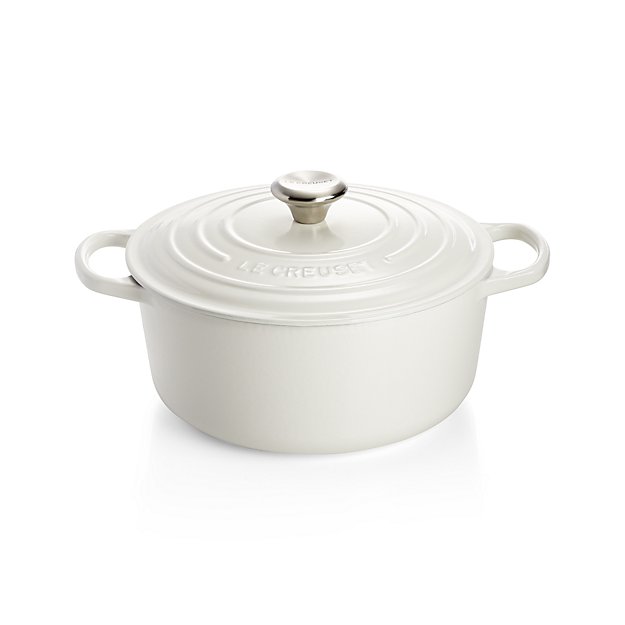
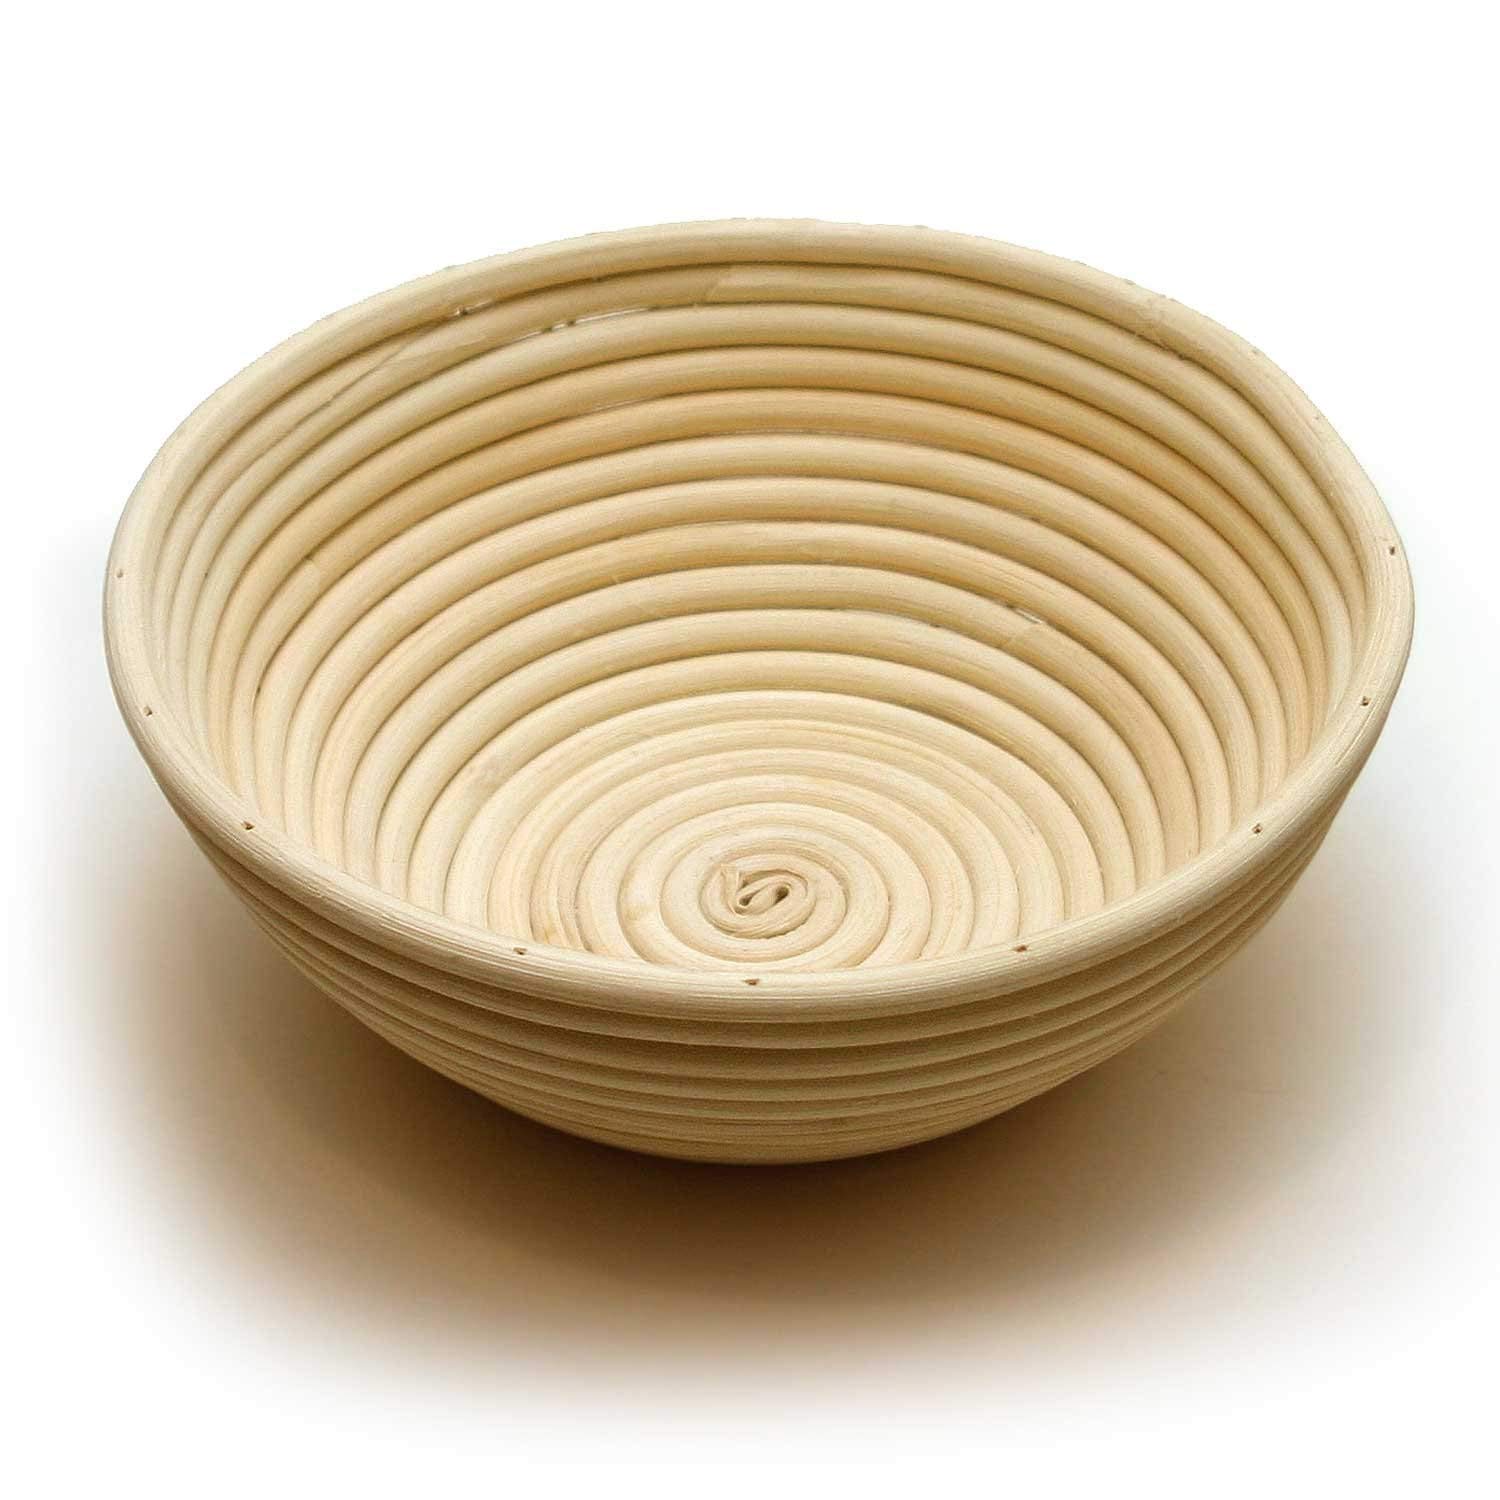
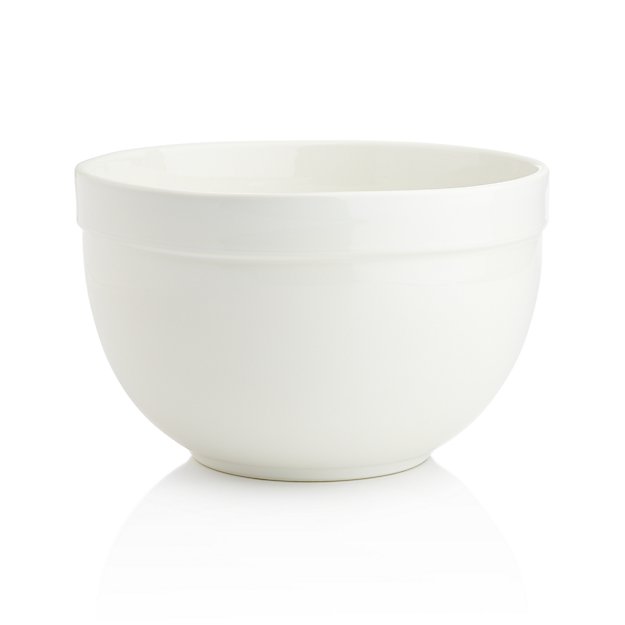
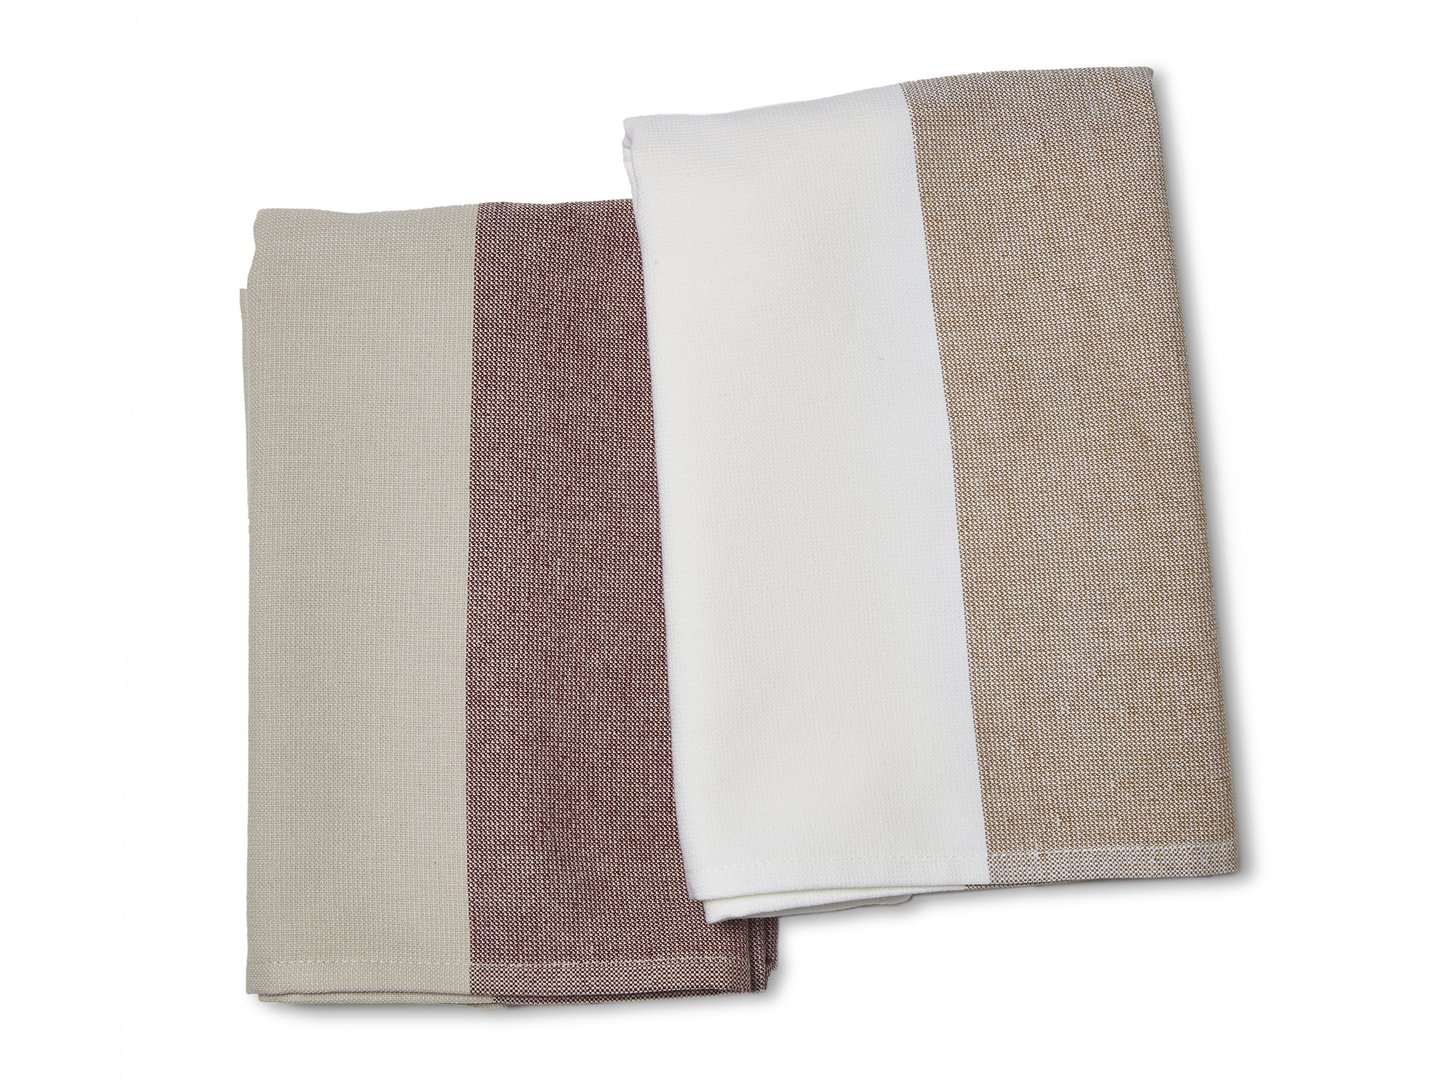
d u t c h o v e n / p r o o f i n g b o w l / m i x i n g b o w l / t o w e l s / b o w l s c r a p e r
Although these tools make the process a little easier, and I personally think everything seems better when your surroundings are aesthetically pleasing, they are by no means necessary for making great bread. I made my first loaf with two bowls, a dutch oven, and a spoon; and it still tasted just as great as the loaves I’ve made with my new and improved tools.
THE PROCESS
what you’ll need:
2 1/4 tsp active dry yeast (1 packet)
1 tsp sugar
1 1/4 cup warm water (between 100 - 110 degrees F)
1 1/2 tsp kosher salt
2 1/2 cups bread flour, plus more for dusting
what you’ll do:
In a large mixing bowl, add the yeast, sugar, and warm water. When I first started making this recipe, I used a meat thermometer to take the temperature of the water, since it’s the only thermometer I had on hand. The water temp is important because it impacts the activity of the yeast. Inconsistent water temperature produces inconsistent bread results.
Let the yeast bloom for about 5 minutes. The water should look a bit frothy at this point.
Add 1/2 cup of the bread flour and the salt, mix with a spoon until you’ve removed some of the lumps. It will still be lumpy. That is ok.
Continue adding the flour 1/2 cup at a time, mixing after each addition. The dough should really come together once you’ve added the final 1/2 of flour, which I do so gradually so that my dough doesn’t look too dry. If the dough seems too wet after this final addition, add a bit more flour.
Lightly flour all sides of the dough. Generally I do this by gently lifting it with a spoon to ensure I’ve covered eat nook and cranny. Cover with a kitchen towel and let rest for 1 hour. Set a timer. Seriously, just do it.
After the dough has rested for an hour, place your dutch oven with the lid on inside your oven and preheat the oven to 450F degrees. Use your bowl scraper or your spoon to gently transfer the dough to a floured surface.
Starting at the top of the dough [think of it as 12 o’clock] grab a bit of dough stretch it up until you feel resistance and then press it in to the center like you’re sealing an envelope. Continue doing this all around the dough until you’re back where you started. Flip the dough over so the seam side is down, and use your hands to gently form the dough in to a ball.
Place your ball of dough, seam side down, in to a floured proofer [or floured bowl, if don’t have a proofer]. Cover with a towel and let rise for 30 minutes.
After proofing for 30 minutes, use a piece of parchment paper slightly larger than your bowl/proofing basket and cover the bowl so that when you flip it over your dough goes on to the paper seam side up. Take the dutch oven out of the oven, remove the lid, and using the corners of your parchment paper lower your dough in to the dutch oven.
Replace the lid [remember it was just in an oven that was 450F so use the oven mitts. I can’t tell you how many times I’ve absentmindedly grabbed the lid with my bare hand], and bake in the oven for 25 - 30 minutes, until the top of the loaf is a golden toasted brown.
Use corners of parchment paper to lift bread out and transfer to a cooling rack, and try your best to wait 20 minutes before slicing in to your loaf. It’s hard. The hardest part of this entire recipe. But I promise you it’s worth it when you’re not struggling to slice in to a hot loaf of bread and destroying all of your beautiful work. But hey, it will still taste great, so by all means do as you please!
Store in an airtight container on your kitchen counter up to a week [like it’s really going to last that long].

Although this post ins’t sponsored by Maldon Salt, it should be considering the copious amount of their salt I use every morning.
[main image from Almost Makes Perfect]